Easy Online Rental


Trusted nationwide by customers and team members!
We’re honored to receive these awards from Comparably, based on the ratings and feedback from our very own team.


Just think of us as an extension of your home.
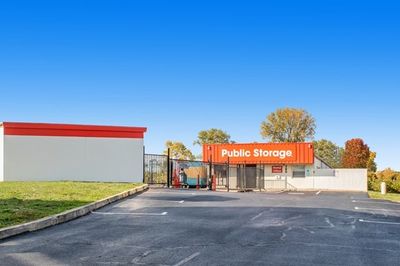
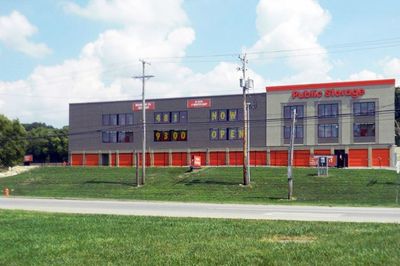
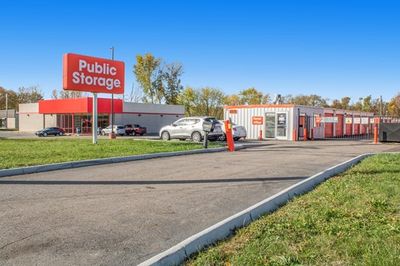
With more locations nationwide than any other self-storage company, we’re always just around the corner. Here are some locations in your neighborhood:
Here’s how the self-storage process works.

Find a location
Start by searching for storage near you. With thousands of locations nationwide, we're always just around the corner.

Reserve your unit
Reserve your unit for free with no obligation, and complete your rental online to save time on move-in day.

Move in
Find your space and move on in! (Pro tip: Download the Public Storage app to open make move-in a breeze with easy gate access and more!)

After 50 years, you learn what people want.
- Free reservations
- No long-term commitment
- Convenient access hours
- Trusted Nationwide Since 1972
- Climate-controlled units
- Variety of unit sizes
Having trouble imagining what a 5'x5' looks like?
We'll help you find the right size self-storage unit so you can make sure you're getting the most for your money.
View the Size Guide

THE MOST LOCATIONS NATIONWIDE
That means you can pick up your surfboard for the morning swell and return it by noon.
Find StorageWhat's it like to store with us? Ask them.

"eRental made it possible to search for a
unit and
complete my transaction remotely while out of town."

"I filled it out (eRental) in the parking lot
and got a spot in like 10 minutes."

"Company reputation is excellent. Location is
ideal for my needs. Easy contactless eRental process, end to end."
Testimonials provided by actual Public Storage
customers. Images are stock photography and not of the actual persons providing the testimonial.